


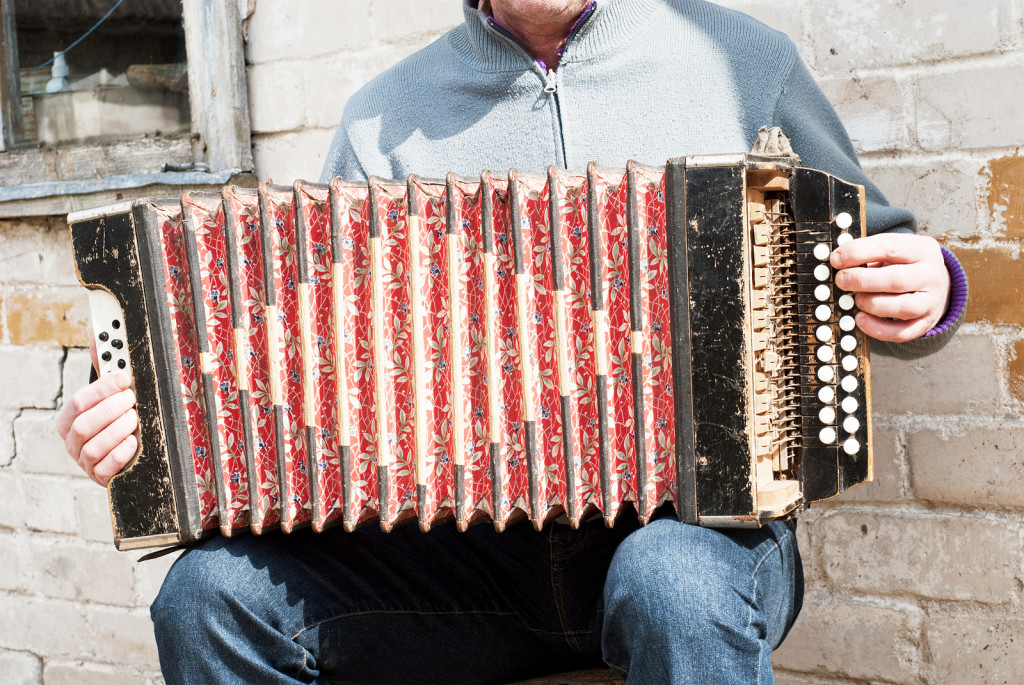
Similar to various accordions and harmonicas, the concertina is a free-reed musical instrument with buttons and bellows on both ends. The concertina was invented in Germany and England independently along the same timeline. The first English concertina was developed by Sir Charles Wheatstone in 1829 while its German counterpart was invented five years later by Carl Friedrich Uhlig in 1834. To date, the concertina is used extensively in England, Ireland and South Africa for classical, polka and tango music. During the 19th century, the English concertina had a patina of bourgeois sophistication for it was associated with classical music while the Anglo-German concertina was regarded as a low standard musical instrument as it was mainly used for playing popular dance music.
Here are 6 simple steps to get you started learning how to play the concertina:
*Note: Depending on which type of concertina you have, these steps might be slightly different. Click here for an in-depth fingering chart for all types of concertinas.
Table of Contents
Step 1: Holding the Concertina
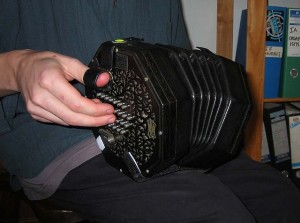
Step 2: Proper Hand Position
Your home position when playing the English concertina should be on the four top buttons present on both sides on the row that is being played. Try to make all four fingers work for a better effect. However, if your pinky finger is too short or lacks agility and strength to press the buttons, try using finger exercises to build their effectiveness.
Step 3: Your First Two Notes
Start by learning the first two notes (G and E) in different octaves in the beginning and add one more note as we go further. Find the G and E on the left side of the concertina and play them. Next, play the G and E on the other side as well and name the notes while you sing along. Once you become familiar with the sounds and names of those two notes, proceed further by singing and playing a little song using these two notes only.
Step 4: Adding the Third Note
Now we add one more note (A) along with G and E. After you become familiar with this note, play the G and E on the right side and A, an octave higher on the left. This will be your first tune. Keep practicing these notes by playing a little song so you remember the sounds and names of these notes.
Step 5: Adding More Notes in Different Octaves
We now add two more notes in different octaves (F and D) to the first tune. Once you play these two notes, you’ll know exactly how the first five notes fall in place that is, D-E-F-G-A.
Step 6: Keep Practicing How to Play the Concertina!
Keep playing the same tune with D, F and G in various octaves and go on naming them as you play. This will train your ear so that you can play the concertina freely by ear. When it comes to playing the concertina, it is important to learn by ear where the notes are on the concertina and how they sound exactly. As you become more familiar with the sound of the notes, move on by adding two more notes each time to create a more elaborate tune.
Thanks for reading this tutorial on how to play the concertina!
References
- “Wheatstone English Concertina” by The original uploader was DannyChapman at English Wikipedia – Transferred from en.wikipedia to Commons.. Licensed under CC BY-SA 3.0 via Commons.


This is way more helpful than anyntihg else I’ve looked at.
Comments are closed.